Tips for a Successful Long Exposure Photo Shoot (Paul Flynn, Member Tutorial)
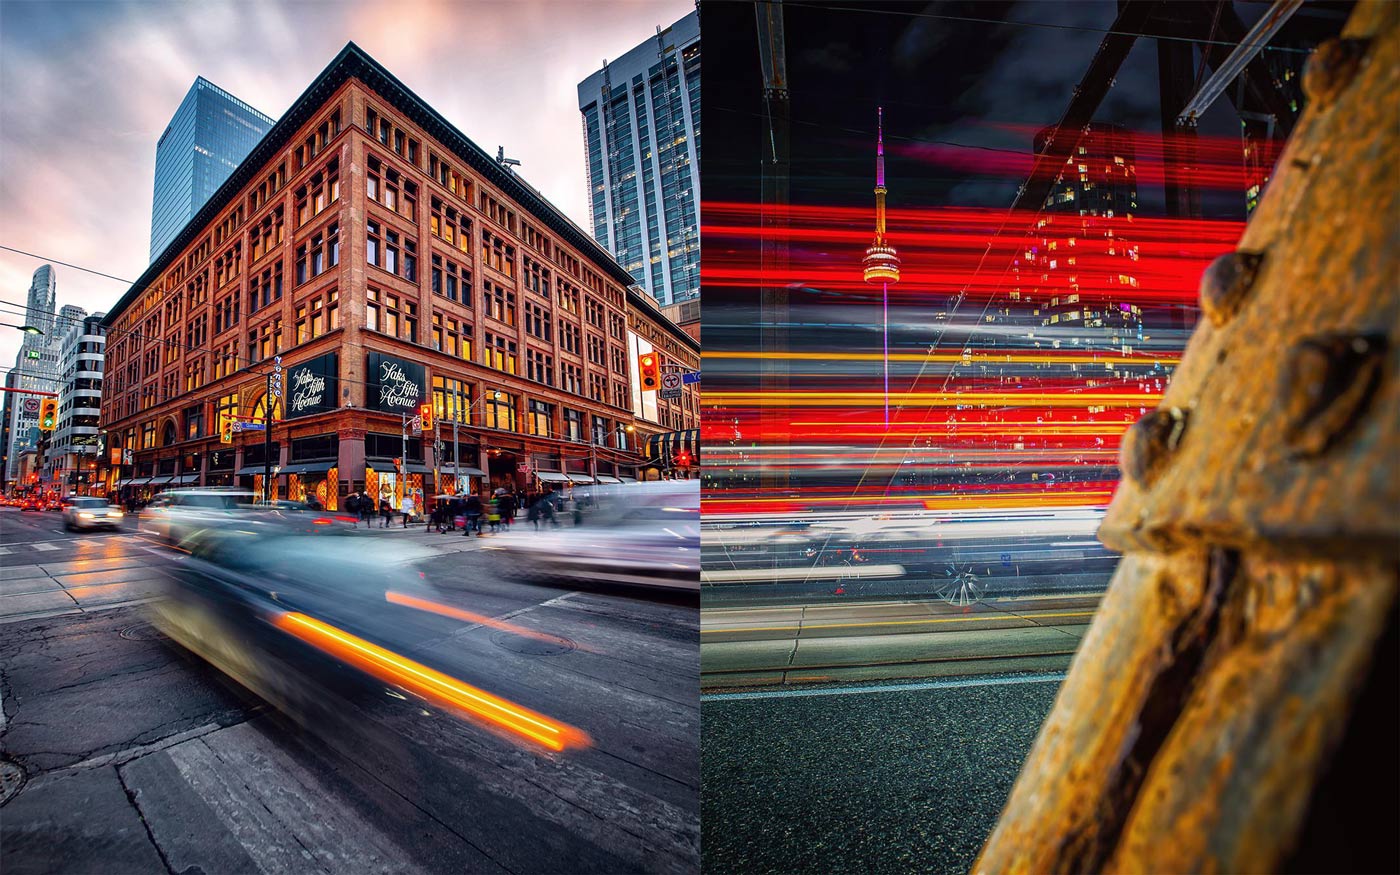
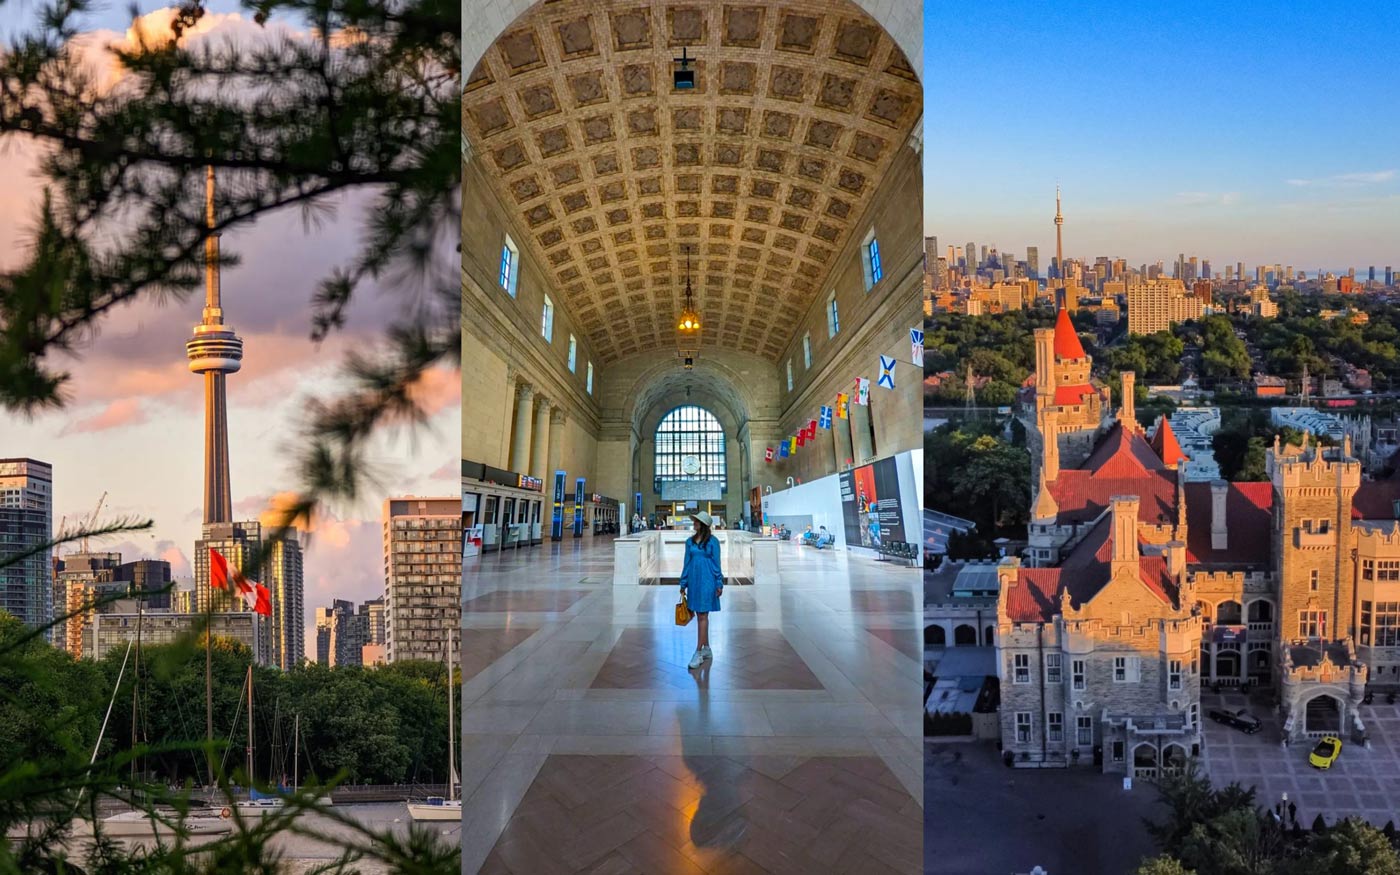
Feature image collage by Paul Flynn.
These tips are from Paul Flynn, one of Toronto’s most prolific, accomplished and enthusiastic long exposure photographers. This style of photography is challenging but very fun and allows for a lot of experimentation and play – often yielding incredibly visceral results.
Mastering Motion: Technique and Tips for Long Exposure
Long exposure photography, which uses an extended shutter speed to blur moving elements into streaks of light or smooth out water/clouds, is a cornerstone of Paul Flynn’s work. To achieve these dynamic light-trail effects, a tripod is essential for keeping the static elements of the composition sharp. His experience, which he shares in photo walk workshops, emphasizes the value of real-world practice and expanding one’s photographic “bag of tricks.” A key tip for aspiring photographers is to focus on composition, which he views as a vital role in creating intriguing long-exposure images, especially when scouting prime locations that combine the engaging contrast of transit and towering cityscapes.

What we need to consider for long exposure shooting techniques:
- Equipment
- Location
- Camera Settings
- Composition
- Focus / Stabilization
- Test Shots
- Experiments
- Perspective
1. Choose the Right Equipment
- Camera: Mobile phones are getting better at this, but a DSLR or mirrorless camera with manual settings or shutter priority mode is ideal, as you’ll need control over exposure time, ISO, and aperture.
- Lens: A wide-angle lens is great for capturing a broad cityscape, but a zoom lens can also work if you want to focus on a specific section.
- Tripod: Essential for keeping the camera stable during long exposure shots.
- Remote Shutter Release or Timer: To prevent camera shake when you press the shutter.
2. Select the Perfect Location
- Find a spot overlooking a busy road, bridge, or intersection to capture trails from moving cars.
- Consider an area that has lots of traffic and try both high and low angles.
- Make sure there’s enough ambient light from buildings or streetlights to add depth to the shot.
3. Set Up Your Camera Settings
- Shutter Speed: Start with a long exposure time, around 5-30 seconds. The exact time will depend on the amount of traffic and speed of the vehicles. An easier method for beginners is to shoot using shutter priority (S) mode. This allows you to dial in the exact amount of time you want the shutter to be open. The camera will control the other settings like aperture (f-stop). To have full control of the camera, you would want to shoot in manual (M) mode.
- Aperture: Use a smaller aperture (higher f-stop number, like f/8 to f/16) to keep the entire scene in focus.
- ISO: Keep the ISO as low as possible (e.g., ISO 100) to reduce noise, especially since long exposures can amplify it.
- White Balance: If shooting in JPEG, set the white balance to a setting like Tungsten or Daylight to keep city lights from looking too warm. Shooting in RAW is ideal since you can adjust this later.
4. Compose Your Shot
- Consider including an interesting element in the foreground like a reflection, part of a building, a tree, anything that can add depth to the image without being a distraction.
- Allow space for light trails to develop in your frame, ensuring there’s enough room for the start and end of the trails.
5. Focus and Stabilize
- Set the focus manually or use autofocus and then switch to manual to lock it. Focusing on a specific landmark in the distance or a bright light will help ensure sharpness.
- Use a remote shutter to avoid camera shake when taking the shot. Those who don’t have a remote shutter can also use your cameras built-in 2 second timer to trigger the shutter.
6. Take Test Shots and Adjust
- Take a few test shots and check for brightness, sharpness, and the quality of your shot.
- If the light trails are too short, try increasing the shutter speed.
- If the image is too bright, see if you can lower the ISO further, raise your f-stop, or speed up the shutter speed. If those methods don’t work, you may want to consider using a Neutral Density (ND) filter.
- If you notice a lot of glare and use a UV filter or protective filter on your lens, consider removing it.
7. Experiment with Different Perspectives
- Once you’re satisfied with your main shot, try capturing the scene from different heights, angles, or locations to add variety to your shots.
- You can even try zooming in and out during the exposure for creative light effects!
Bio
Paul Flynn is a Toronto-based photographer and video editor primarily known for his striking long exposure, cityscape, and street photography that captures the urban essence and dynamic motion of the city. Originally from the United Kingdom, he moved to Canada’s East Coast in 1990 before settling in Toronto, where he currently works professionally as a Senior Video Editor for a Canadian broadcaster. Drawing inspiration from the urban environment, his photography focuses on iconic Toronto scenes and landmarks, often using long-exposure to contrast the movement of transit and traffic against the still backdrops of skyscrapers and city infrastructure.
Website: https://paulflynn.ca/
Social: https://www.instagram.com/to_shots/
Join our Events for 2026
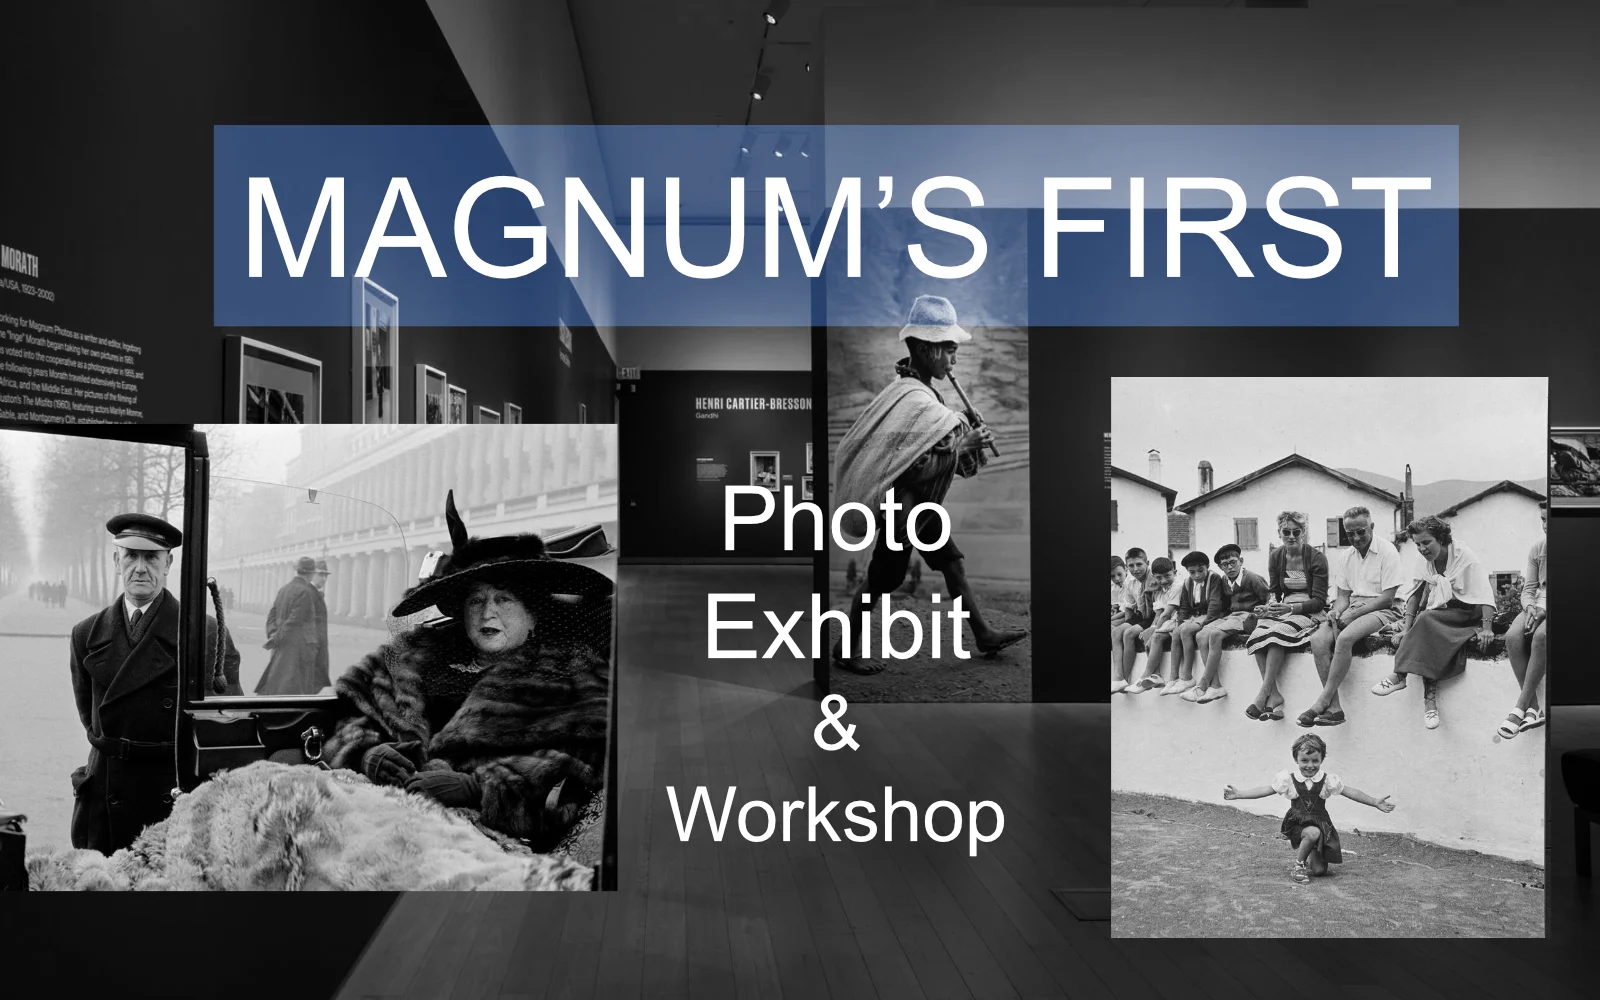
Magnum’s First Photo Exhibit and Documentary Photography Workshop with Tdot Shots
Visit our ticket page for more information and to buy your ticket and reserve your spot!

