How to Use ND Filters in Long Exposure Landscape Photography (Member Post)
")
Article and photography by Leanne Hay
Editing and production by Mike Simpson
Hi. I’m Leanne, a photographer from Toronto. Humber Bay Shores, in the city’s west end, is home for me and where I learned to love what Toronto has to offer photographically. My favourite genres are (sunrise) landscape and cityscape photography followed by wildlife and nature photography.
About Long Exposure Photography
When is a good time to try long exposure photography? Any time you have motion in a scene. Long exposures can greatly enhance landscape photography; they provide reflections, smooth milky water, and wispy clouds.
To Filter or Not to Filter
I dabbled in long exposure photography and used various filter systems over the years. I was lazy using them as I was often photographing in cold conditions. I would close down the aperture to allow me to get a longer exposure to save me from fiddling with filters as they were awkward to use.
That changed when I purchased the Kase Wolverine Magnetic Filter System earlier this year. They are a game changer being so quick and easy to pop on and stack which is paramount when photographing sunrises as everything changes so quickly. Long exposures have really allowed me to be more creative and up my game as well as helping me to learn patience.
The best way to achieve long exposures is to use Neutral Density Filters which come in a variety of strengths; i.e., ND3, ND6, ND10 are just some examples which progressively get darker and block more light allowing you to expose for longer. You can achieve long exposures without filters by closing down your aperture (i.e. F8 closing down to F16 or F22) and using the lowest ISO setting or it may organically happen when you are shooting at blue hour using ISO100 and F8 and it is too dark and you aren’t able to get a faster shutter speed. This is where ND filters are your best friend. If you have moving people or animals in a scene, an ND filter will help to blur them from the scene.
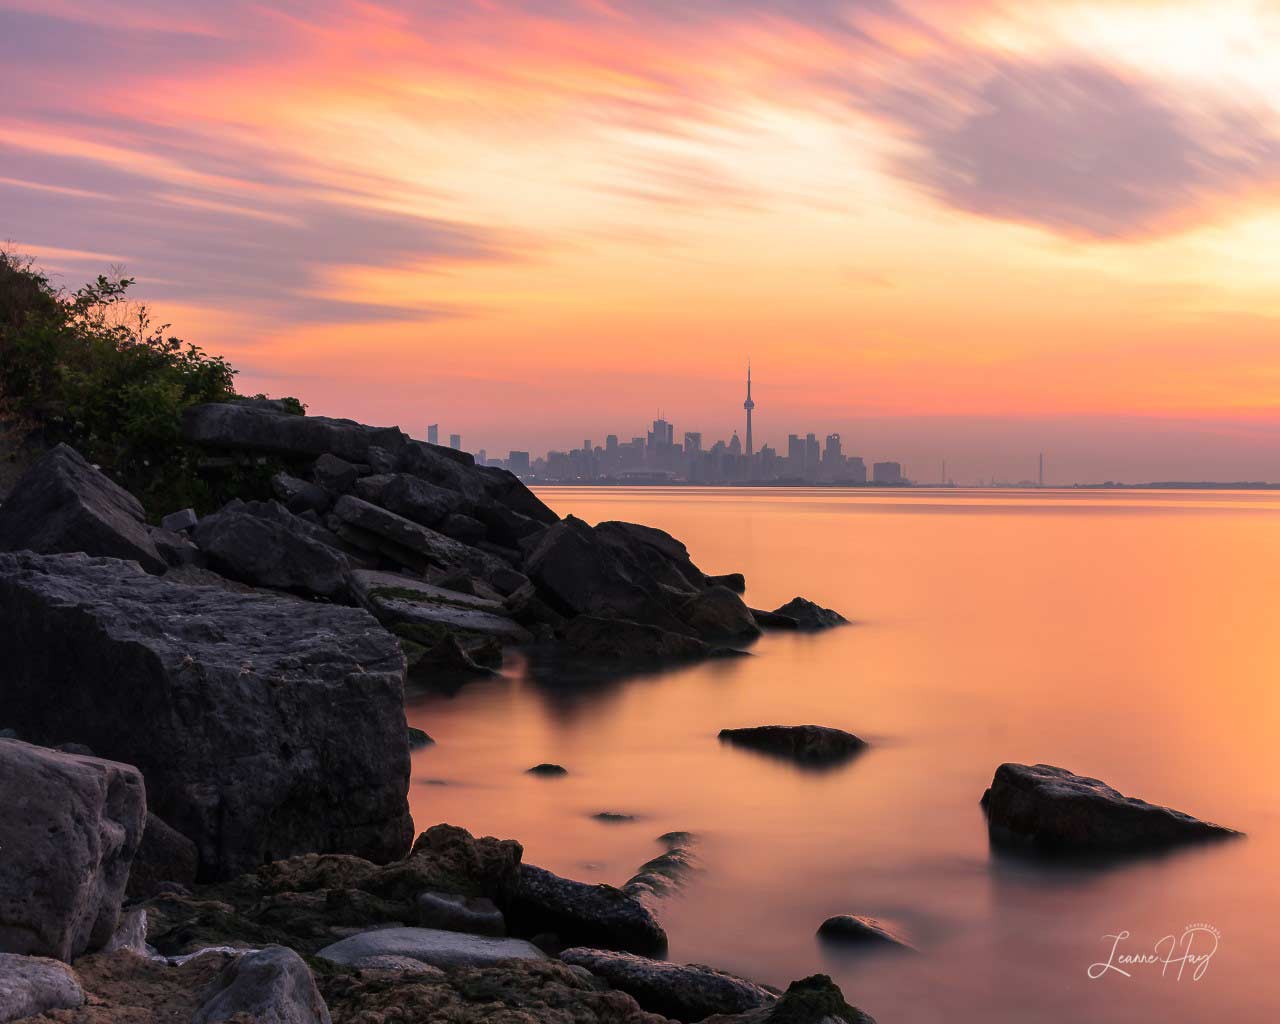
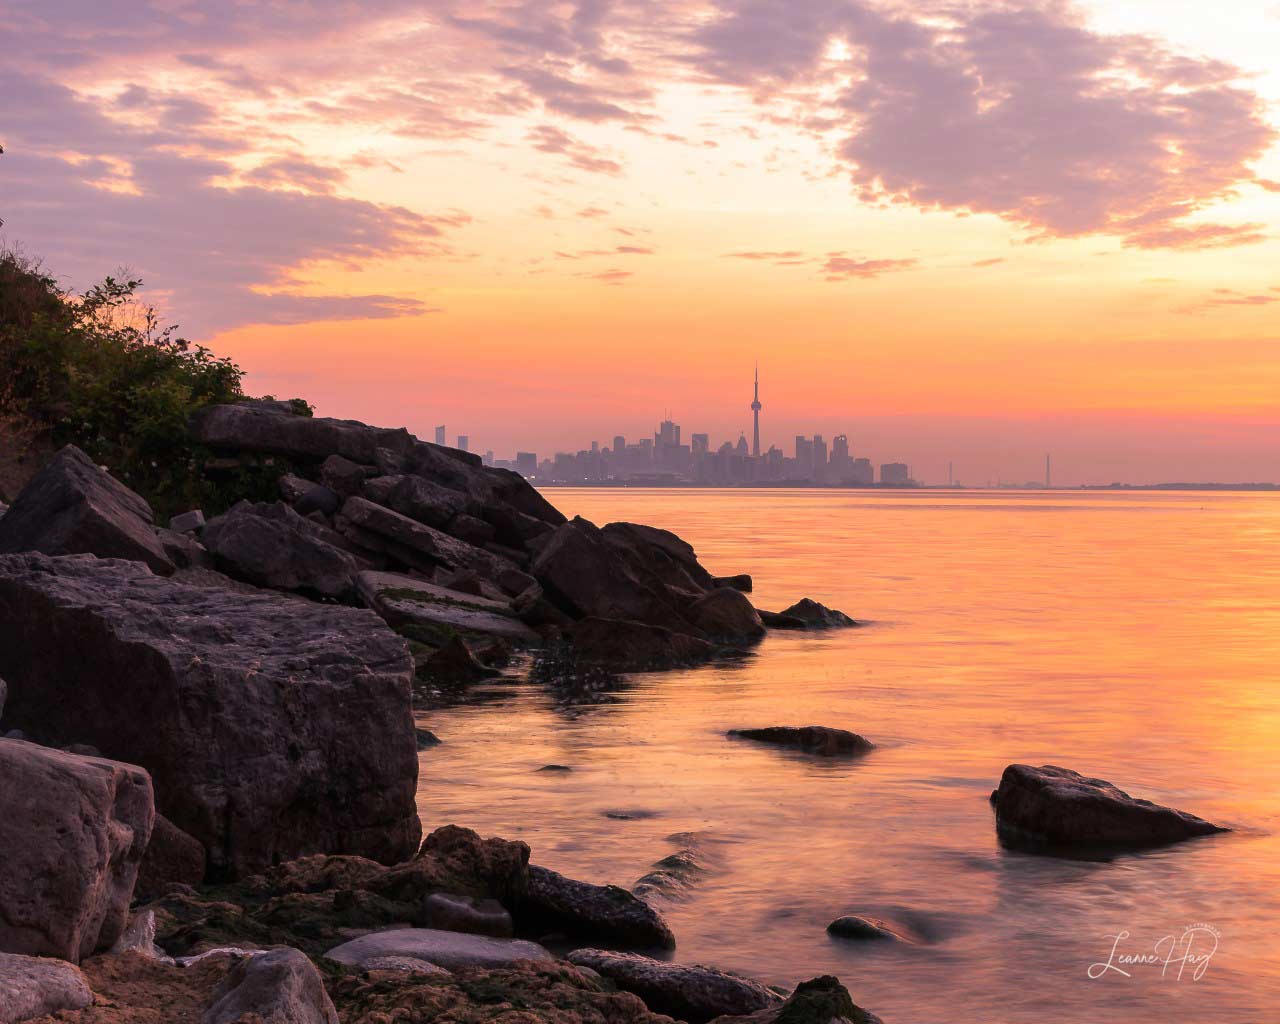
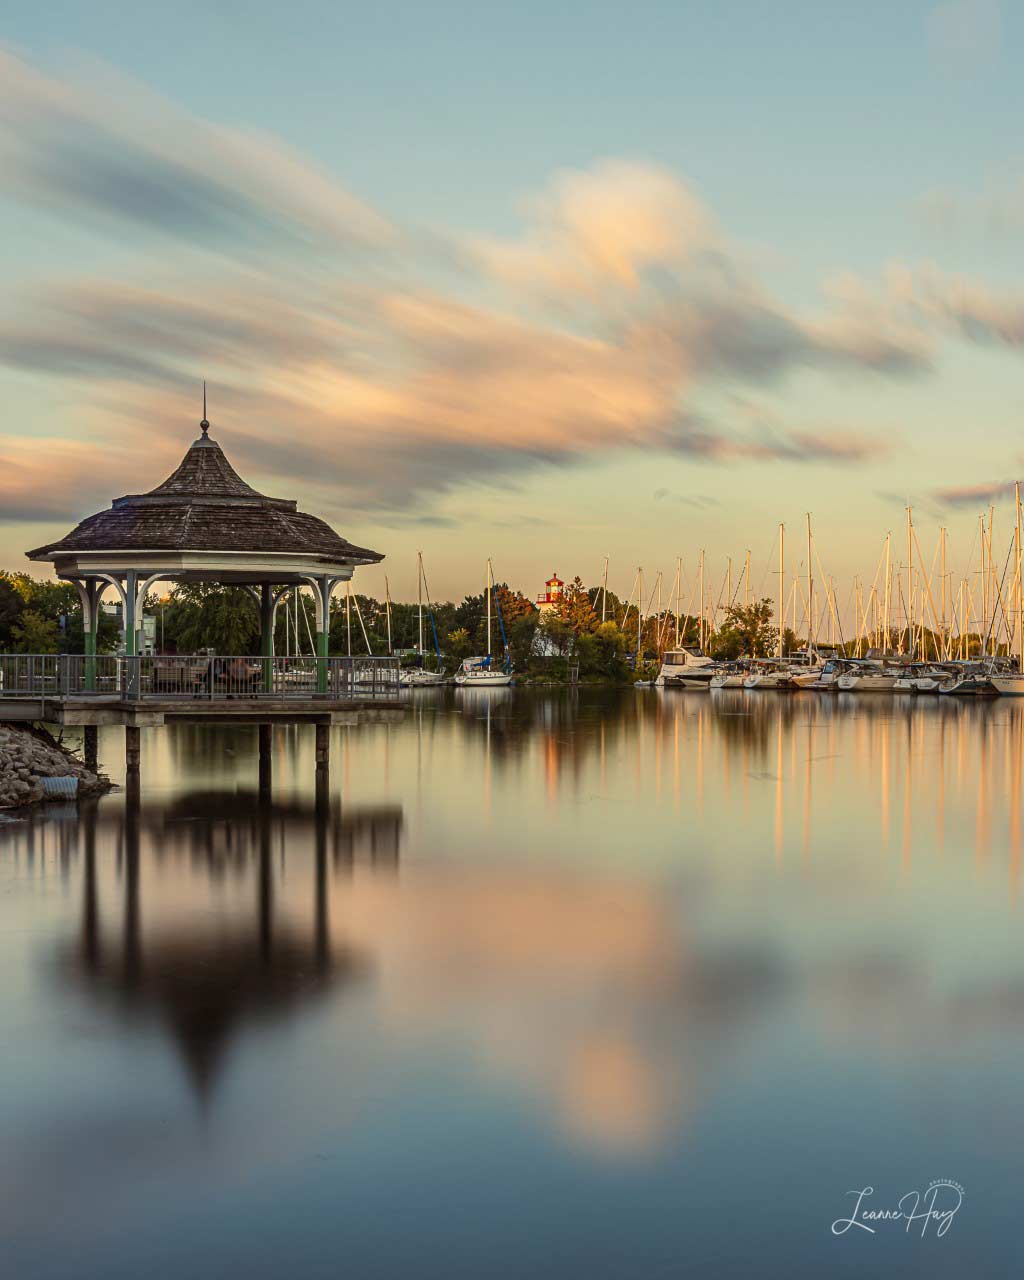
Example 1: “Peach” Sunrise
Analysis
In comparing the two images, you will see that the greatest difference in the LE image is how the clouds and water have become much smoother whereby the shorter exposure has more detail in the water, showing more motion and texture in the waves and sky.
Image 1: LE was shot at F8 / 257 seconds / 100ISO / 36mm (filter)
Image 2: Short LE was shot at F11 / 1 second / 100 ISO / 36mm (no filter)
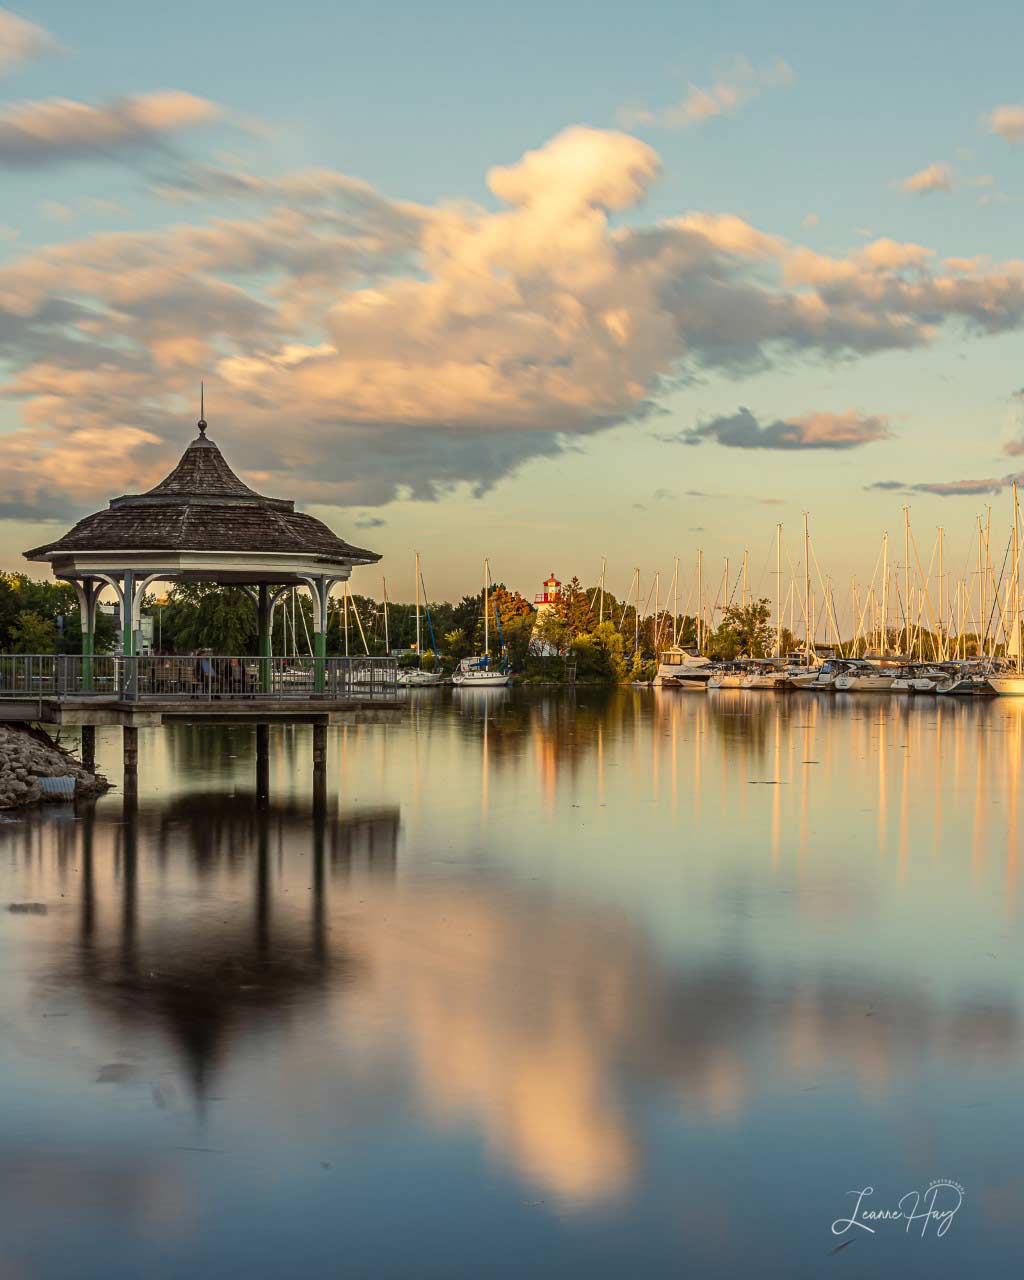
Example 2: “Silk” Sunrise
Analysis
In these two images we have a shorter long exposure as these images were taken later in the morning and it was now brighter. Again, the clouds and water is where you will see the greatest difference as the movement of the clouds and waves have been removed. The colours are more intense being reflected off the water. Did you notice there are geese in the image on the right? The long exposure also removed them from the scene as they were moving.
Shot 1: LE was shot at F8 / 25 seconds / 100ISO / 28mm (filter)
Shot 2: Non-LE was shot at F8 / 1/15 second / 100ISO / 28mm (no filter)
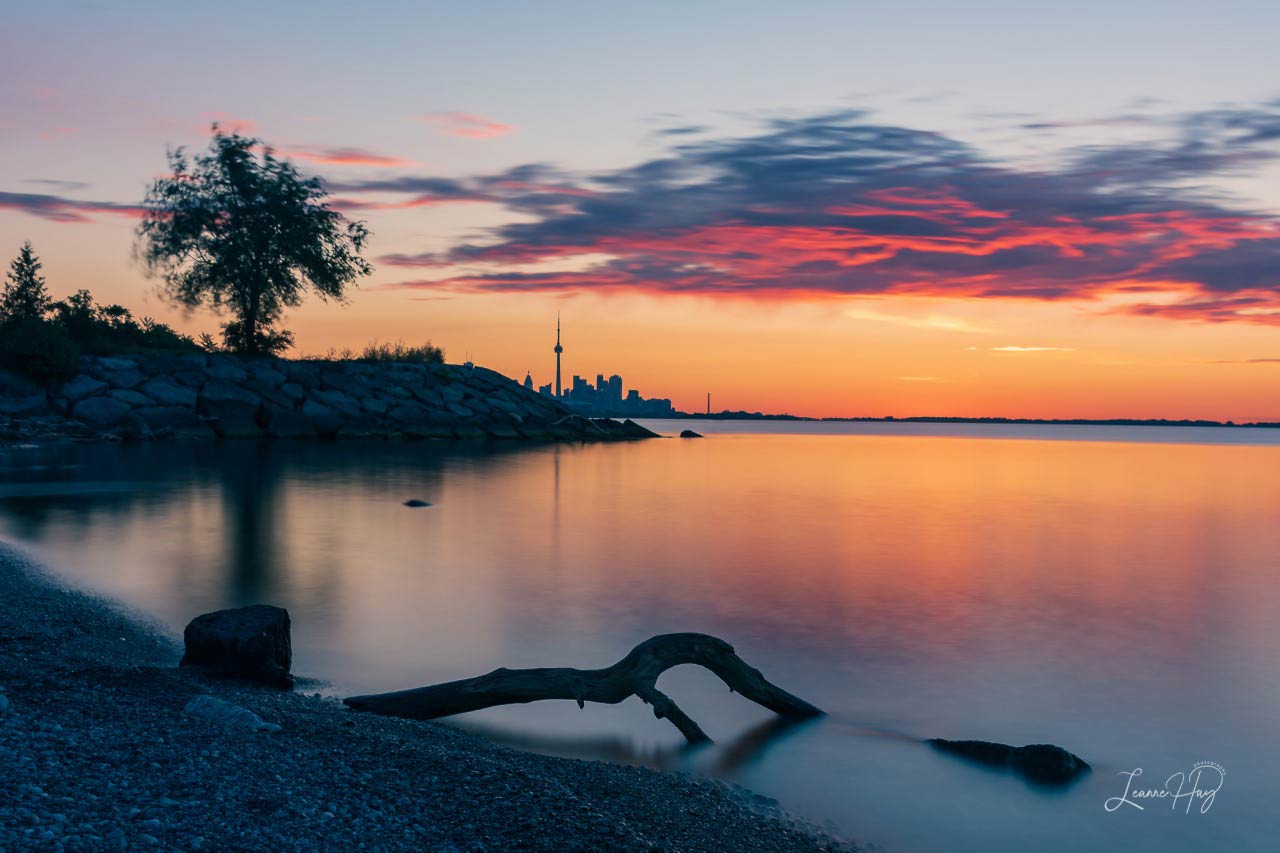
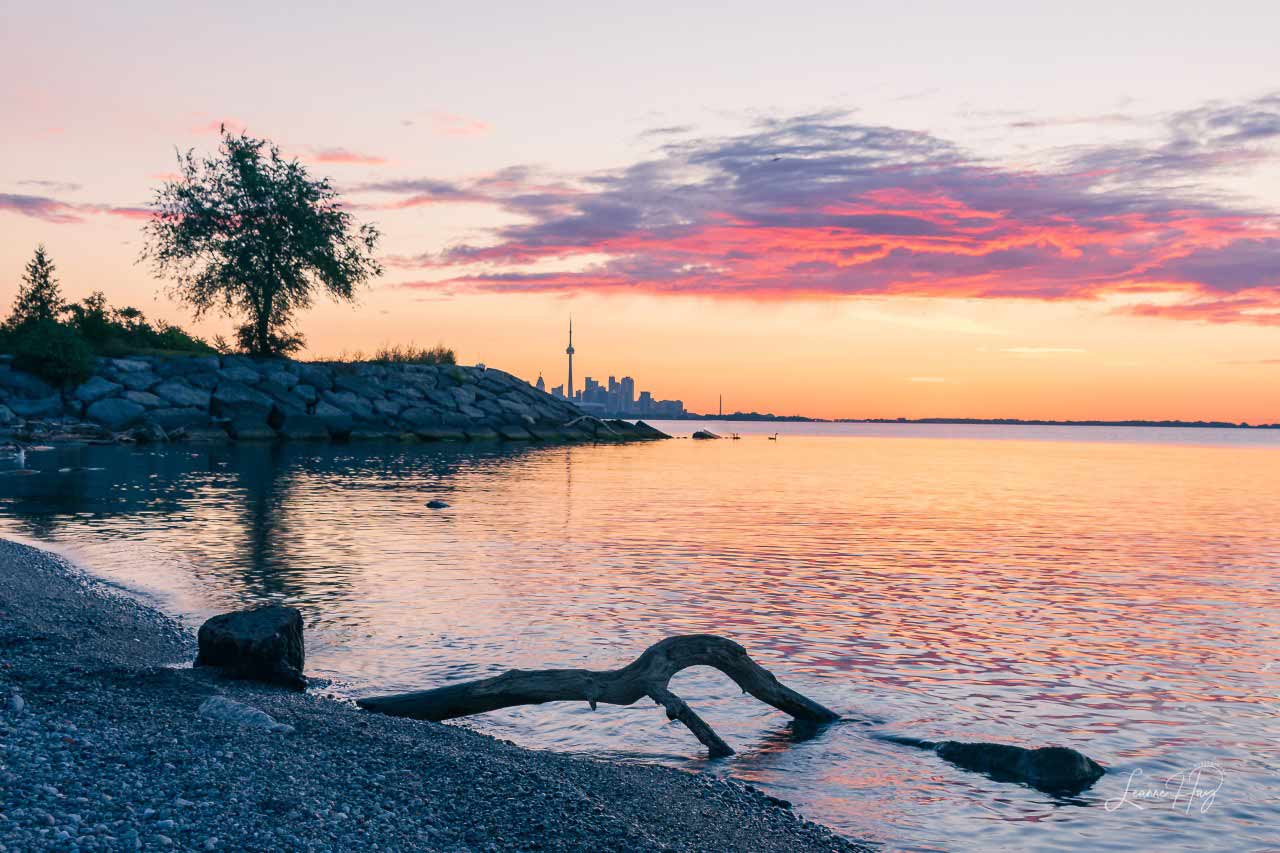
Example 3: “Golden Sunset”
Analysis
Both of these images are long exposure images. The difference is in the amount of time the image was exposed or baked as I sometimes refer to it; 30 seconds vs. 274 sec. We have nice water reflections in both images. The longer exposure image has more movement and wispier clouds. You’ll notice the shorter exposure has what looks like smudges in the bottom left. I was photobombed by ducks and in this case a 30 second exposure was not long enough to remove them.
Shot 1: LE was shot at F13 / 274 sec / 100ISO / 44mm
Shot 2: Shorter LE was shot at F13 / 30 second / 100ISO / 44mm
Setting the Settings and Using the Filters
My most used app is ‘PhotoPills’. Not only is it a wonderful tool for timing for sunrise, moon rise, alignments and milky way photography but it helps determine long exposure timing, Under the “Exposure” section it allows me to calculate the shutter speed I need once I input the aperture, ISO and exposure of my scene. I first set up my ideal composition, put my camera on a tripod and then take a meter reading.
As an example, a scene test settings could be F/8 1/160 second with ISO 100. If I pop on a 10 stop ND filter and keeping my exposure at F/8 and ISO 100 my new equivalent setting would be a 10 second exposure. If I am trying to achieve an even longer exposure I could either add another ND filter to stack, close down my aperture or reduce my ISO, if your camera has that capability. There are several free apps that also assist with long exposure photography such as “LE Calculator” and “Lee Filters Calculator”
My Nikon Z6 has a “time” feature that allows me to take images in excess of 30 seconds. I simply do a 2 second self-timer and press the shutter release button and wait the desired amount of time and press again. A cable/shutter release is very helpful. I can’t use one with my camera on a vertical/portrait shot with my tripod set-up. If you don’t have the “time” feature you will be using bulb mode and a cable release. The reason you want to use a cable release or self-timer mode is to reduce camera shake and blurry images.
In Summary
There is certainly some trial and error doing long exposure photography. The best advice I can give you is to switch from auto, set your camera to manual and get out there shooting in all kinds of weather trying different exposures. Try closing down your aperture to F16 vs. F 8 to get a slower shutter speed or put on a 6 stop ND filter to see what happens to that same scene. If you want even a longer exposure put on a 10 stop ND filter. Notice how the popcorn clouds are now gently sweeping clouds and where did the ripples in the water go.
Enjoy and take it slow and steady. Remember patience is a virtue.
Author / Photographer Links
Follow me on Instagram: @hay_picturethis
Visit my site: www.leannehayphotography.com
Hello city explorers. I’m Mike. I’m passionate about arts and education in Toronto (aka Tdot). I host events and create media, including this site you’re reading right now.
Please contact me for information about photo walks, tours and events in the city. I’d be happy to share some tips & share the best of the city with you.
")

")
")