Photography Tips: How to Improve Your Fall Shots with Composition, Depth, Colour Grading, and Gear 🍁

Are you excited about fall photography!? I sure am. Though the north has been going off for weeks, peak fall colour is just getting started here in Toronto, so I think this post is right on time. Please read for my tips on improving your fall photography and feel free to leave a comment.
By the way, this October we are hosting 3 Photo Walks in Toronto, held with Tdot Shots and Iconic Toronto. Be sure to register for an opportunity to explore, network and practice this amazing photographic art form.
In this post I will outline these aspects:
- Composition
- Depth of field
- Colour grading
- Gear and accessories
Let’s get started.
Composition
It goes without saying but composition is king. The framing of your shot is the first step and it really helps convey what you are after in your shot. Be sure to regard the framing as well as the tilt and angle of your shot.
Framing is paramount. Try to get in tight but leave some room for cropping. You may find you want to crop later to focus the eye on your subject or remove some distraction at the edges. Personally I like to get portrait and landscape shots to cover all aspect ratios. These days too many people only get portrait shots – but landscape is still very practical, especially for actual landscapes! 😀
Compare the following shots for qualities of composition and colour.
Framing with leaves and wall
Composition with leafy foreground and city skyline
Angle and Tilt
I often point my camera straight at the scene from about chest height but on some occasions I will crouch down or even get my camera up above my head, using my flip out articulating screen to get above the height of a typical shot. This is particularly useful for getting lots of leafy fall foreground in the shot.
Tip: Try experimenting with perspective and tilt by taking two different shots – one low to the ground and one about two meters above the ground. You can crouch or take a knee or even lay down to get the low shot, and use a tilting screen and your arms in the air, or climb a bench or picnic table, to get the high perspective shot. Even a change of 1 or 2 meters in height can really make the shot look different.
Getting up above the action via some stairs or a drone is also a good way to capture more of the scene. Here are two special shots.
Toronto ravine shot
Aerial / drone shot above DVP highway
Those are amazing aren’t they? Now of course you can also get these shots other ways: put your camera on a selfie stick, stand on a picnic table, climb a hiking trail or shoot from a building or balcony. Get creative with your perspective and your fall shots will really shine.
Depth and Depth of Field
Now some of your may already be playing with depth of field, but more broadly speaking I am talking about having many layers in your frame. Put your subject, such as a pair of people waking, well down the frame into the distance. This depth of subject matter is important – it creates a rich visual.
Next we come to what is known as “depth of field.” Commonly discussed alongside “bokeh,” depth of field refers to having parts of the image in focus and other parts out of focus. Most cameras can do this, often without special lens of even special settings.
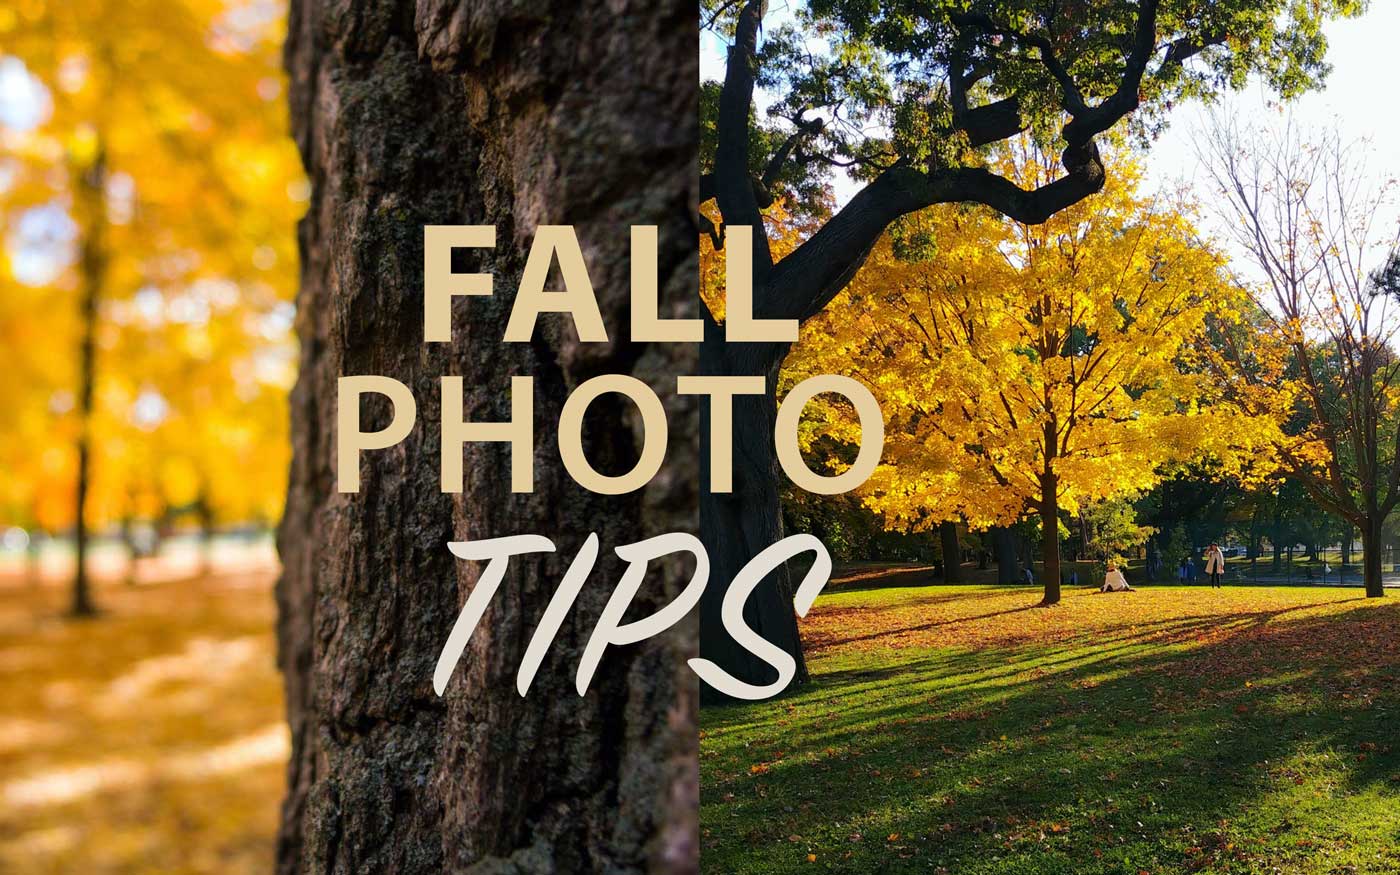
However if you get up close to a leaf or tree trunk in macro mode or point your telephoto at a leafy branch, you may get some really delicious depth of field. Your leaves or bark will ideally sit prominently in the foreground while the background gets nicely softened.
Here are some examples:
Depth of field + low angle
Depth via composition and lighting
In the first image, of the leaves, the foreground is in sharp focus and the background blurry. This was accomplished with macro mode. You can do similar things shooting “wide open” with apertures from f3.5 or f2.8 and smaller. Or try a telephoto lens which can be used to separate foreground and background with pleasing blur.
The second image, of walkers on a trail, has all elements in focus. The sense of depth is created by the composition and editing. The trees and forest are dark and there is a shaft of sunlight in the middle. It is an amazing image which draws you in to the subject of fall and people enjoying a walk.
In this image, of the streetcar and leafy trees (right or below), there is amazing depth of field. The photographer is focused on the streetcar and the foreground leaves are wonderfully blurred and darkened. It combines to make the streetcar really pop out in the image.
The setting by the way is Spadina Ave in downtown Toronto. This is a very urban block, but the photographer (@to_shots) has positioned themselves perfectly on the centre median to capture this incredible fall image.
Colour Grading
Now I have to admit that this is equal parts editing techniques and subjectivity, but there are definitely some skilled editors out there, and also some garish edits floating about. Let’s look at a few images.
We should decide if the approach to colour is natural and convincing, or whether it goes too far. The issue is that fall images are often very colourful, yet some photographers go too far when applying vignette or saturation.
One tip I can offer, as I look at hundreds of images per week when making selections for @tdot_shots, is that some editors rely too much on what I call “orange dip.” That is their shots look like they immersed them in an orange tinting machine, removing much of the subtlety in highlights and shadows, and removing details. Here are a few choice images where colours are well balanced and the photographer resisted going overboard.
Colour pop green against yellow
Walker in a foggy fall park
What do you think about these shots? What impressed me about Argen’s cottage reflection image is the symmetrical composition and the colour editing. He draws the eye to the green roof cottage with composition and editing. It is possible the trees originally contained more green and he shifted them toward yellow using the “hue” slider in his software’s HSL settings. He darkened the luminosity of the blue sky using the “luminosity” slider and created this all around gorgeous reflection shot. I’ve always admired @Argenel, who is equal parts fantastic photographer and fabulous editor.
In the image of High Park, I did a couple of things to make the image pop. First of all, the red maple tree was extremely bright and colourful so I didn’t need to add much saturation. I did however strategically apply lightening and darkening to the bottom of the frame to allow the dog walker to stand out a little from the leafy ground. I also accentuated the light at the top of the frame by a factor of 10-20%, probably with a radial filter and either using some reverse “dehaze” or applying a touch of increased exposure or brightness. the overall effect is to enhance the romantic aspect of the image and make it appear even foggier than it was.
Gear: Tripods, Drones, Smartphone vs Camera
In this section I want to wrap up and explore what’s possible with photographic gear, whether an accessory or a camera.
It goes without saying that you can take an excellent photo with a phone, compact or pro camera, but certainly some gear can really assist you with “getting the shot.” Take a look for example, at this image. Any ideas or guessed as to what was used to make the shot?
Wide angle lookup
The photo above / at left, is by Peter in TO, one of the amazing landscape photographers in the GTA. He took this shot at our very first Tdot Shots photo walk back in mid October 2018. And how did he get this shot?
I distinctly recall Peter was carrying around a truly tiny tripod and I wondered how he would put it to use. The answer is in this lookup photo, where he placed his camera just above the ground to get this perspective looking up the tree trunk. In addition he got this wide perspective by using a 10 mm lens – which is in the category of ultra wide. He obviously used a self-timer as well.
A very creative capture indeed! And his edit draws attention to the single red leaf he chose to place in his hand as he leaned back against the tree. Well done Peter.
So gear does play a role. A mini tripod or full tripod helps with steady low or high shots, changing perspective. A tripod can allow you to play with long exposures. How about capturing leaves falling in frame with a 0.5 second shutter speed? Or people walking by on a trail, leaving ghostly images in frame?
Let’s not discount the usefulness also of a smartphone. Fall can be rainy, and if your main camera is not waterproof you may want to pull out your smartphone in the rainy weather. Smartphones are often blessed with super wide angle second lenses as well. I know my main camera has a 24 mm – 120 mm equivalent focal length, so when I need a wider image I can reach for my Samsung s20 and use the 12 mm equivalent lens for a real wide shot.
In Summary
I hope that’s been a useful blog post for you. There are so many approaches to gear, technique and editing that can make your fall photos really pop and express creativity.
Certainly feel free to leave a comment. If you want to link to your own IG or website please feel free and we’ll try to take a look.
If you found this post useful and you are looking to improve your creative skills consider joining Tdot Studio, upgrading to a premium membership, and taking our courses.
Enjoy your fall shooting and stay creative! 🍁
Mike
PS – be sure to check out our fall photo walks. We have some great events happening this season. Visit Tdot.com/events to register!


Thanks for reading this post. Also, a special welcome to any of you who are attending our Tdot Shots / Iconic Toronto photo walk meetups this month.
What do you think of this article? Do you have any favourites from the photos? Feel free to leave a comment, and by all means include a link to your IG or website.
See you on a photo walk! 🍁😀
Fall photography is fun for all and a good opportunity to grow our image making skills. Looking forward to visiting Evergreen Brickworks, U of T and High Park with the meetup groups this season!
By the way, you can learn more about Photoshop, WordPress and DaVinci Resolve via our online courses:
https://tdot.cc/courses/
Hope to see some of you on the photo walks and in the online courses! 👍
Cheers,
Mike